Skip to content
Back in the days of negative film and transparencies (slides to some of you), actually shooting the image was just a part of the photographic equation, and typically the quickest part of the equation. I remember how excited we all got when the 35mm cameras started coming out with built-in motorized film advance. Shortly thereafter we could even buy a motorized film drive attachment for our medium format cameras. That would surely save our thumbs from future arthritis (or so we thought).
Aside from commercial work where setting-up was probably the longest part of the process, walking around taking scenic photos, or family photos, or even shooting a wedding, was primarily an exercise in clicking the shutter button, and then doing it again, and again, and again. Most likely in rapid succession.
Next we moved to the development process of the film, which most of you probably never did unless it was for a photography class and you were developing black and white negative film in your windowless basement bathroom, as so many of us had to do. Then again most of you just dropped your exposed canister of film at the drug store or the shopping club or that weird looking yellow and orange hut in the middle of the grocery store parking lot, or, you mailed it away and prayed like hell.
For those of you that did work in a darkroom, and did your own printing of enlargements, you know how much time and effort (and trial and error) went into developing those prints. It was no less than a very time-consuming process, dodging the shadows and burning the highlights and masking this area and exposing more for that area.
Without the development of the prints, there was just the negative, and it’s not like you could walk around bragging to your friends and family about your awesome photography skills by just showing them the negatives.
Fast forward to today; the digital age.
Now, if we so choose, we can just pretty much concentrate on shooting JPG format images and let the camera’s built-in software do the processing of those captures. We can go into our camera’s menu and even select a “shooting style” or “picture style” and have the camera process those JPG images in any number of flavors that suit our needs. Most people don’t even realize that they can do this, so their camera’s shooting style is just firmly planted on “standard” which is typically the camera’s default. What they shoot is what they get and they’re happy campers (how many campers do you know that are actually happy after a cold rainy weekend?) Of course, a JPG file can still be opened and altered in a photo editing software program, but with limitations.
Now for the photographer that wants more, or even full control over their captures, be it a novice, advanced, semi-professional, professional, or “I know it all” photographer, there is the RAW file format, which essentially is a file containing all of the information recorded by your camera’s sensor during exposure, as opposed to that JPEG file that has been compressed and altered by your camera, and does not contain all of the information recorded by your camera’s sensor during exposure because it has been conveniently discarded by your camera.
A RAW file format is a better way to go, but you need to use the right software programs to be able to open, convert, and edit RAW files, otherwise, that RAW data is worthless. Which bring us to why mastering post-processing in the digital age of photography is so important.
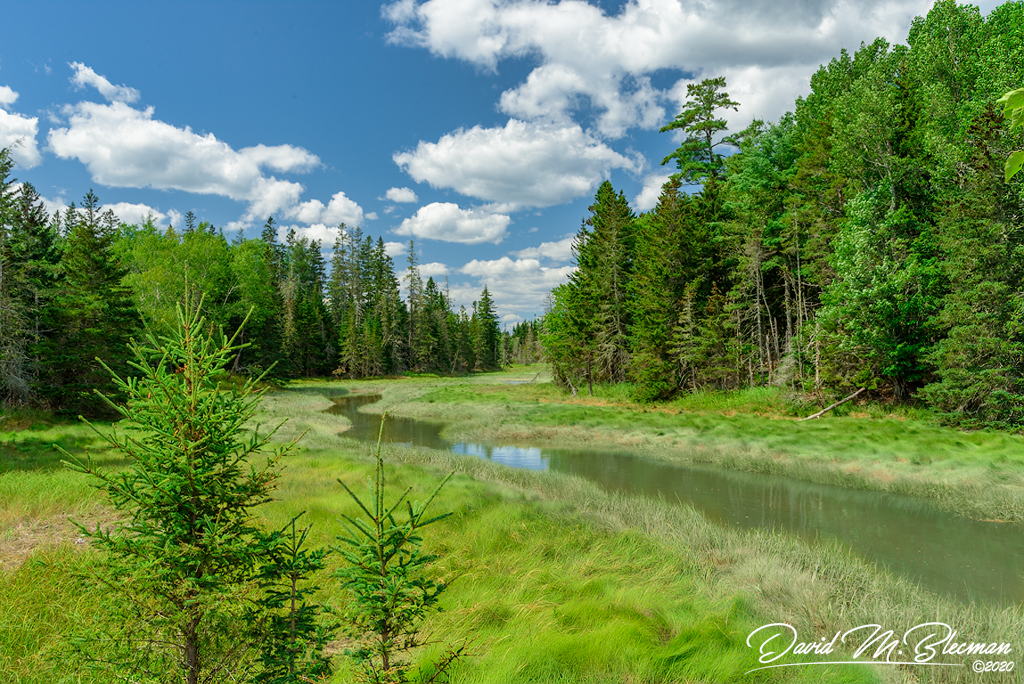
That uncompressed RAW information that your camera has captured contains minimally processed image data with lossless quality. It contains the direct image data from the camera sensors with no alterations or loss of quality. This RAW file format is used to store all of the details of the recorded image so that they can be edited with the photographer’s own spin and artistic vision.
In order to be able to correctly and accurately process, edit, and alter the RAW image, and with your vision in mind, you need to master at least some of the image post-processing software available to you as an artist. RAW images files are there waiting for you to, depending on your tastes and vision, add saturation, contrast, texture, clarity, leveling, denoise, sharpening, vibrance, color correction, lens correction, and a host of other image enhancements that help bring your vision into focus (oh what a great pun!).
Mastering post-processing is definitely a progression, and in the end, in my opinion, more important than composing and clicking that shutter button to make that capture.
David Blecman is an internationally recognized professional photographer, instructor, and judge, having photographed and instructed workshops in over a dozen countries to date. His website is www.posneg.com where you can find his portfolios and training videos and events.


